C-One Rear Under-panels

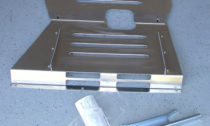
Typically, the piece that covers the underside of the engine bay in the rear is referred to as the diaper”.  This is made up of 2 plastic pieces that cover up the engine pieces and prevent some splashing upward from puddles.  They also help to direct air in some cases.  C-One makes replacement panels that help to keep the underside of the car nice and flat.  It also has some fins that create a rear diffuser.  All of this helps out in the aerodynamics department.  They also look pretty cool.

When I bought the under panels, I got them from a forum member that had the panels, but not the mounting hardware.  After some searching, I was able to find the mounting hardware at a shop in Orlando...

Read More

Frunk Enhancements

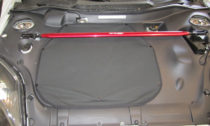
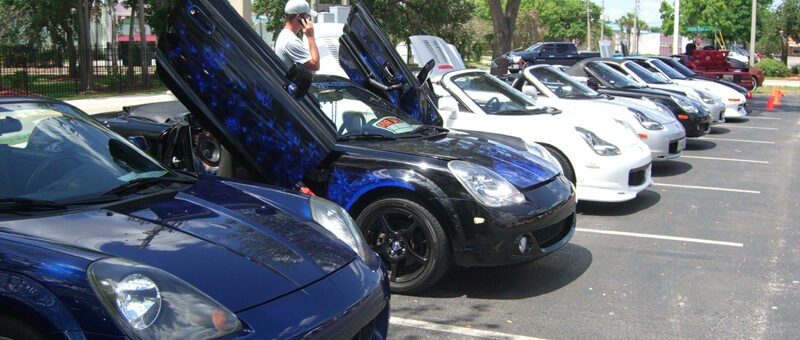
Some modifications require a bit of fabrication or cutting of the stock components.  And while they are functional modifications, they may not look very good when done.  Here are a few mods that I’ve done in the frunk area that require some extra help in the aesthetics department…

Read More

Going fast? Stop fast too.

The stock brakes on the MR2 Spyder are really good.  It’s hard to improve over them.  There are kits that have larger calipers with more pistons, etc.  But those add a little more un-sprung weight and they cost a lot of money.  I think most kits start around $1,100.00.  I haven’t looked at prices lately, so there might be a cheaper option out there now.  But still they would be quite a bit of money.  So, to still get some performance and some cool looks too, I chose to replace the rotors and pads.

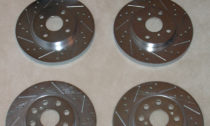
I went with cross-drilled and slotted rotors.  I know, I know.  They are competing technologies.  Cross-drilled is meant to cool the rotor, where slotted will heat them up.  But, the slotted rotors help to move the heat better and provide a little better bite...

Read More

Infinity Reference 6020cs

I had some mounting issues initially, but eventually, I was able to install my new speakers.
For the install, I needed the following:

  • 10mm socket and ratchet
  • Needle nose pliers
  • 1 small flat blade screwdriver
  • 1 medium sized flat blade screwdriver
  • 1 regular sized philips screwdriver (the one I used was magnetic and it helped a little).
  • 1 Dremel with cutoff wheel (Yes, you read that right).
  • Some speaker wire. Not much, but enough to run from the stock speaker wire location to the crossover and some wire to run from the crossover to the tweeter.
  • 3M double sided tape (I had a roll of the stuff in the garage).
  • 4 medium-large zip-ties
  • 4 small zip-ties
  • wire strippers/cutters
  • crimper tool
  • 4 female blade connector ends
  • some shrink tubing
  • hair dryer (Or heat gun)
  • 4 crimpable wire nut things.
  • 4 small...
Read More

Lookie what I made ( CF Nose Badge )

So I smashed up my old CF Nose badge that I got from Hong (Pelican Racing) at an autocross event. And I was in need of a replacement, FAST. To solve my dilemma, I talked to m&m1951 about the possibilities of making a CF nose badge. … Now I already bought a black custom nose badge a while back to have as a backup in case anything ever happened. That is still my backup. … So back to the story. m&m1951 said he would sell me a cleaned and prepped badge and I could try to do the CF part myself. And if I was successful, I would be allowed to market the CF badges to the public. So it’s really a joint venture.

I’m using real carbon fiber in the good, JDM, 1×1 weave (None of that cheap-ass eBay crap. I tried that out and wasted a bit of money in my development).

So here’s the final product...

Read More

Meguires Plastx

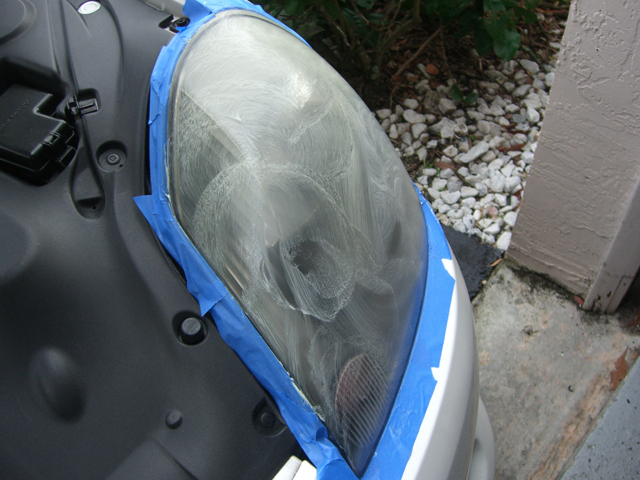
I’ve been meaning to try this stuff out for a while on my head lights. I just never got around to picking any up. Then my Brother-in-law got some and did his headlights. So he hooked me up with the stuff and I just finished using it on my headlights. The overall process is pretty easy. it’s *kind of* like a wax. Only you don’t need to wait for it to dry to buff it off. I still let it sit for a little while just because I thought it might give better results. I’m not sure if that was necessary. Also, I taped off the surrounding area so I wouldn’t get any of the stuff on the paint of rubber.

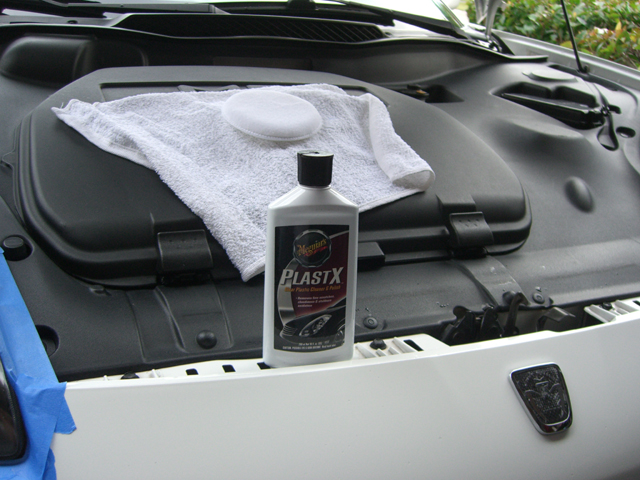
Here’s all the stuff that’s needed to use the product:

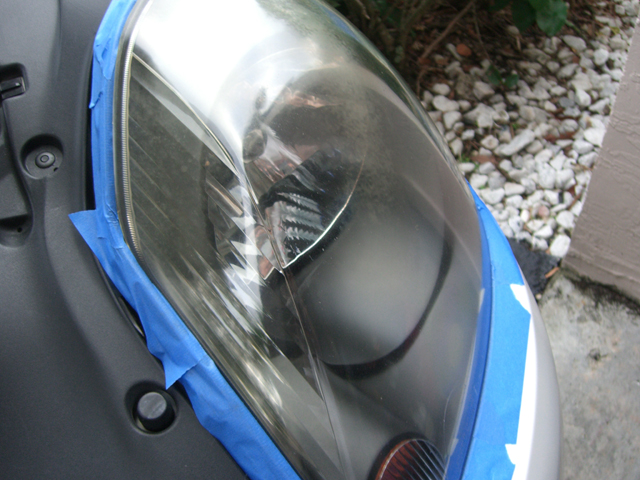
Here’s a before shot of my left headlight:

Here, is after I applied the PlastX to the headlight with the applicator pad:

And here’s after I buffe...

Read More

MAX LITE HID Light Kit – Review

Well, I installed me some fancy HID’s on my car. Haters may make their “ricer” comments if they wish, but I like them so. 😛

I got the kit from the group buy in the commercial sales forum. The longest part of the install was deciding where to put the ballasts and starters. Well, for those that have bought the kits (or are going to buy them) and haven’t installed yet, you just caught a lucky break. I have pictures of where I mounted mine so it can save you the trouble when installing. The rest is *almost* plug and play.

NOTE: I have a 2001 model so some of what I’m going to tell you may not apply to you or may simply be wrong.

I removed the frunk lid. Then the plastic surround piece. Then I removed the frunk bucket too...

Read More

Elusive Part Number for Clips

Well, I spent quite a bit of time going through the repair manual pdf’s and the 00-02 parts list pdf to try to find some clips that I’ve been missing since I got my car. I finally found some diagrams of where the clips were and went to the dealer to order them.

The part number if the image doesn’t show is:
90467-07055-C0

And it’s for the upper luggage compartment garnish (The plastick piece at the top behind the seats.

Read More